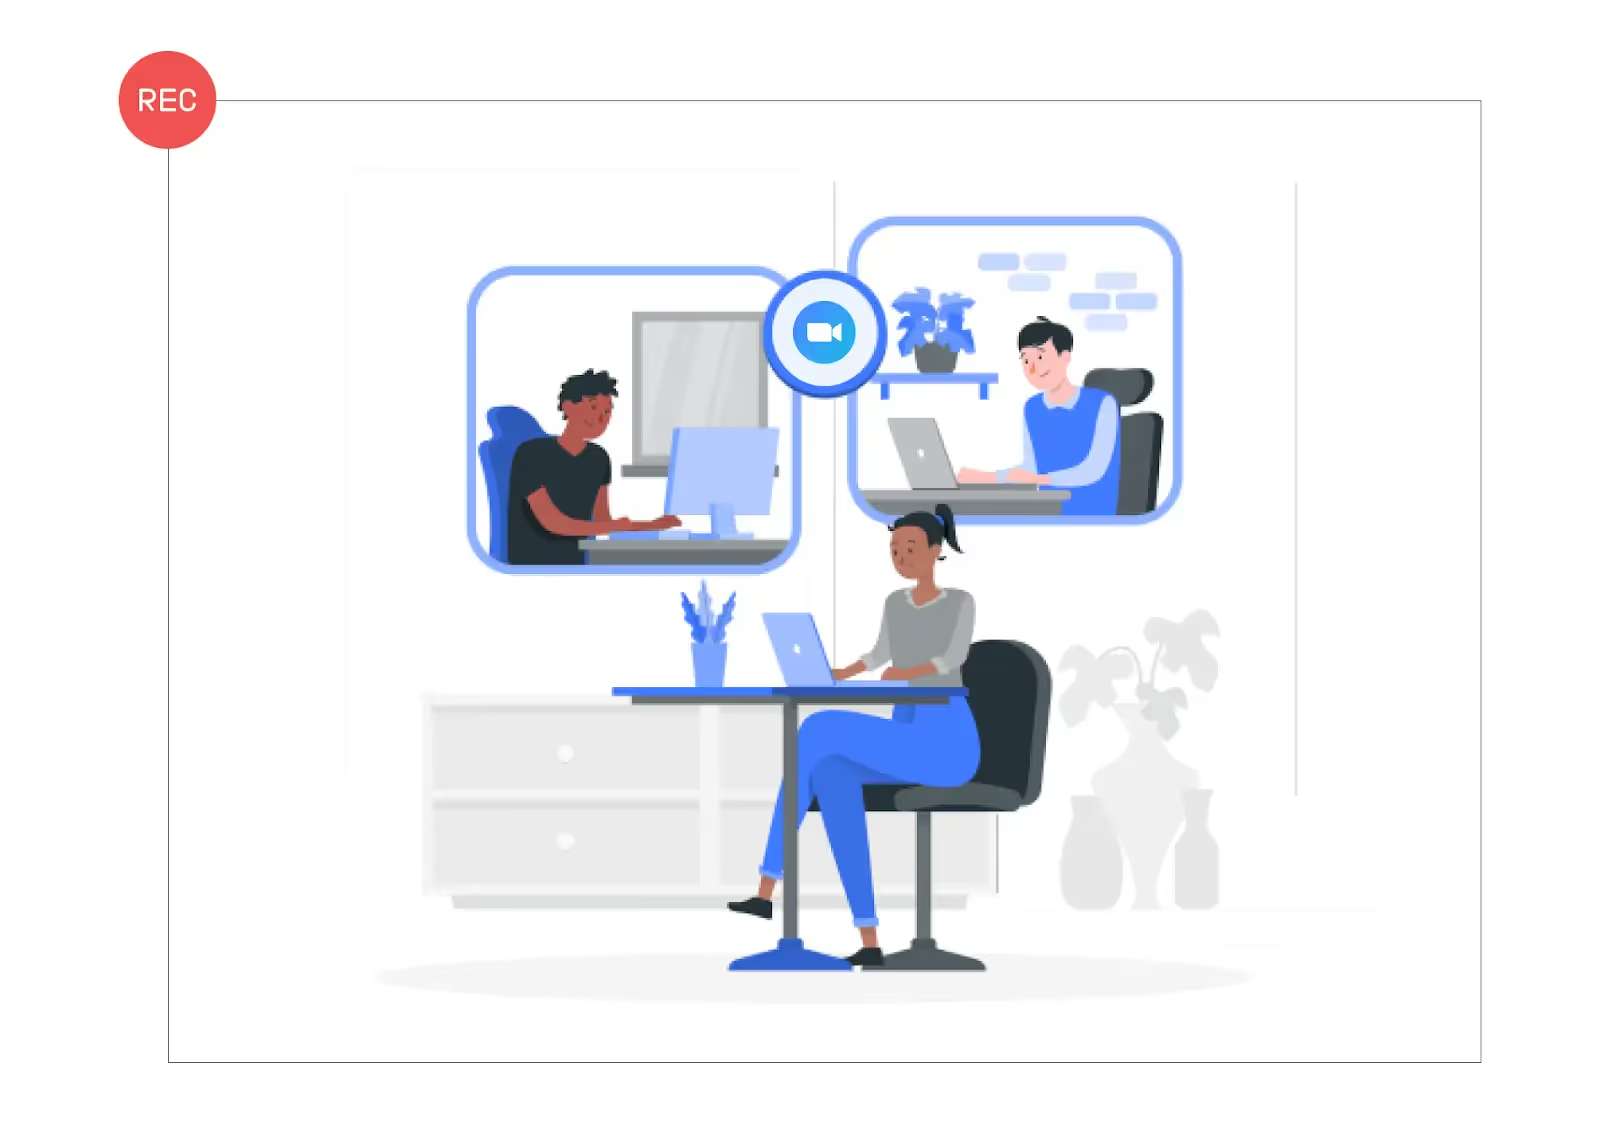
Zoom recording is a feature within the popular video conferencing software Zoom that allows users to capture audio, video, and screen-sharing sessions during meetings. This functionality is essential for businesses, educational institutions, and individuals who need to review, share, or archive their virtual interactions.
Zoom offers local recording, which saves the file directly to the user's device, and cloud recording, which stores the file on Zoom’s servers. In the digital age, Zoom recordings and their accompanying transcripts have become indispensable tools for communication and collaboration.
They enhance accessibility, aid in comprehension, streamline information retrieval, ensure compliance, and support effective teamwork. By leveraging these features, organizations can maximize the value of their virtual meetings, driving productivity and engagement across their teams.
Get Zoom Transcripts Instantly with Convin's AI Integration
What is Zoom Recording?
Zoom recording is a feature provided by the Zoom video conferencing platform that allows users to capture and save audio, video, and chat text from Zoom meetings. This feature is invaluable for various purposes, such as keeping records of meetings, training sessions, webinars, and more. Here's a detailed overview of Zoom recording:
Importance of Transcripts in Zoom Recordings

Transcripts are invaluable to Zoom recordings, providing a written record of everything said during a meeting. Here are several reasons why transcripts are crucial
1. Enhanced Accessibility: Transcripts make the content of Zoom recordings accessible to individuals who are deaf or hard of hearing. They can also assist non-native speakers and those with auditory processing disorders.
2. Improved Comprehension and Retention: Having a written version of a meeting allows participants to review and better understand the content discussed. It helps reinforce memory and ensures that essential points are noticed.
3. Efficient Information Retrieval: Searching a written transcript is much faster than navigating a video. Keywords and phrases can be easily located, saving users time when finding specific information.
4. Documentation and Compliance: In many industries, maintaining accurate records of communications is crucial for compliance and legal reasons. Transcripts serve as a reliable form of documentation that can be referenced if needed.
5. Facilitation of Collaboration and Training: Transcripts can be shared with team members who could not attend the meeting, ensuring everyone stays informed. They are also helpful for training, providing clear examples of best practices and key learnings.
How to Get a Transcript from a Zoom Recording
To obtain a transcript from a Zoom recording, users can follow these steps:
1. Enable Transcription Services: Before the meeting, ensure the automatic transcription service is enabled in your Zoom settings. This feature is typically available to users with a paid Zoom plan.
2. Record the Meeting: Start recording your Zoom meeting locally or to the cloud. Ensure that participants are aware that the meeting is being recorded and transcribed.
3. Access the Recording: Access the recorded file from your chosen location (local storage or Zoom cloud) once the meeting is concluded.
4. Generate the Transcript: If using cloud recording, Zoom will automatically generate a transcript, which can be accessed alongside the video recording in the Zoom web portal. Third-party meeting transcription software or services can be used to create the transcript for local recordings.
Zoom recording is a powerful feature that captures every detail of your meetings, but extracting valuable information from these recordings can be even more beneficial.
Prerequisites for Generating Transcripts
Before generating transcripts from your Zoom recordings, ensure you have the following prerequisites.
1. Zoom Account Type: Automatic transcription is available for Zoom Business, Education, and Enterprise accounts. Ensure you have one of these plans.
2. Cloud Recording Enabled: Transcription is only available for cloud recordings. Make sure your Zoom account has cloud recording enabled.
3. Account Admin Permissions: You must have admin privileges on your Zoom account to enable transcription services.
Steps to Enable Audio Transcription in Zoom

Follow these steps to enable audio transcription for your Zoom recordings.
1. Sign in to the Zoom Web Portal
Log in to your Zoom account through the [Zoom web portal] (https://zoom.us/signin). Ensure you have the necessary admin permissions to make changes to account settings.
2. Navigate to Account Settings
For Admins: Go to the “Admin” section in the left sidebar and select “Account Management.” Then, click on “Account Settings.”
For Individual Users: Click on “Settings” in the left sidebar.
3. Enable Cloud Recording
Scroll down to the “Recording” tab. Locate the “Cloud Recording” option and ensure it is toggled on. This setting allows your meetings to be recorded to the Zoom cloud, which is necessary for transcription.
4. Enable Audio Transcription
Within the “Cloud Recording” section, find the “Audio Transcript” option. Toggle it on to enable Zoom’s automatic transcription service. This setting ensures that an audio transcript is generated for each recorded meeting.
5. Save Settings
After enabling the necessary settings, click “Save” to apply the changes. This step confirms that your settings will be used to future meetings.
Recording Your Zoom Meeting
Once you have enabled audio transcription, follow these steps to record and transcribe your Zoom meeting.
1. Start the Zoom Meeting: Begin your Zoom meeting as usual. Inform participants that the meeting will be recorded and transcribed.
2. Record the Meeting: Click the “Record” button on the Zoom toolbar and choose “Record to the Cloud.” This option ensures the meeting is stored in the Zoom cloud, where transcription can be applied.
3. End the Meeting: Stop recording Once the meeting ends. Zoom will process the recording and generate an audio transcript automatically.
Accessing and Downloading Your Zoom Recording and Transcript
After the meeting has ended, you can access and download the recording and its transcript:
1. Log in to the Zoom Web Portal: Sign in to your Zoom account through the [Zoom web portal](https://zoom.us/signin).
2. Go to Recordings: In the left sidebar, click “Recordings.” This section will show all your cloud recordings.
3. Select the Desired Recording: Find the recording you want to access the transcript. Click on the recording’s name to open its details.
4. Access the Transcript: The recording details include a list of files, including the audio transcript. You can view the transcript directly within the Zoom web portal or download it as a .vtt file for further use.
This blog is just the start.
Unlock the power of Convin’s AI with a live demo.

Managing and Editing Zoom Transcripts
Zoom recordings comprehensively capture your meetings, and transcripts add an extra layer of accessibility and convenience.
Here’s how you can manage and edit Zoom transcripts effectively.
Reviewing the Transcript
After your Zoom meeting, the transcript generated can be reviewed for accuracy and completeness.
1. Accessing the Transcript
Log in to Zoom: Sign in to the Zoom web portal (https://zoom.us/signin).
Navigate to Recordings: Click on “Recordings” in the left sidebar.
Select Your Recording: Find the desired recording and open its details.
View the Transcript: Click on the transcript file to open it for review.
2. Check for Accuracy
Listen and Read: Play back the recording while reading the transcript to ensure accuracy.
Note Discrepancies: Identify and note any parts of the transcript that need correction.
Editing and Correcting Transcriptions
Editing transcripts ensures they are precise and clear, making them more useful for future reference.
1. Download the Transcript
Format: Download the transcript file, usually in .vtt format, which can be edited using any text editor.
Open the File: Open the transcript file with a text editor like Notepad or TextEdit.
2. Edit the Text
Correct Errors: Make necessary corrections to ensure the transcript accurately reflects the spoken words.
Add Punctuation: Enhance readability by adding punctuation where needed.
3. Save and Upload
Save Edits: Save the edited transcript file.
Re-upload if Necessary: If you need the corrected transcript on the Zoom platform, re-upload the edited file.
Using Transcripts for Notes and Summaries
Transcripts can be a valuable tool for creating detailed notes and summaries of your meetings.
1. Extract Key Points
Highlight Important Sections: Identify and highlight key discussion points, decisions, and action items.
Summarize: Create a summary that captures the essence of the meeting, making it easier for stakeholders to understand the main points.
2. Share with Team Members
Distribute: Share the transcript and summary with team members who missed the meeting or need a refresher.
Archive for Reference: Store the transcript and summary for future reference, ensuring critical information is easily accessible.
Effortlessly obtain Zoom transcripts using Convin's AI solution
Best Practices for Recording Zoom Meetings
Zoom recordings are vital for capturing and reviewing meetings, ensuring no crucial details are missed. To maximize the quality and utility of your recordings, follow these best practices.
Tips for Clear Audio and Video
Achieving transparent audio and video in your Zoom recordings enhances the overall quality and usability of the content.
1. Choose the Right Equipment
Microphone: Invest in a good quality microphone to ensure clear audio. USB microphones are generally more reliable than built-in laptop microphones.
Camera: Use a high-definition webcam to improve video clarity. Proper lighting will also significantly enhance video quality.
2. Optimize Your Environment
Quiet Space: Conduct meetings in a quiet room to minimize background noise.
Lighting: Ensure the room is well-lit. Natural light or soft, diffused lighting works best.
3. Technical Settings
Audio Settings: Adjust Zoom’s audio settings for better clarity. Enable options like “Suppress background noise” and “High fidelity music mode” if needed.
Video Settings: In Zoom, go to “Settings” > “Video” and adjust the settings for optimal quality. Use “Enable HD” for higher resolution.
4. Test Beforehand
Test Equipment: Before the meeting, test your microphone, camera, and internet connection.
Rehearse: Conduct a short test recording to check the audio and video quality and make any necessary adjustments.
Ensuring Privacy and Compliance
Maintaining privacy and compliance during Zoom recordings is critical, especially for sensitive or confidential meetings.
1. Inform Participants
Consent: Always inform participants that the meeting will be recorded. Obtain consent if
necessary, especially in jurisdictions where it is legally required.
Notification: Use Zoom’s built-in feature to notify all participants when the recording starts.
2. Secure Your Meeting
Password Protection: Set a meeting password to restrict access.
Waiting Room: Enable the waiting room feature to control who joins the meeting.
Host Controls: Use host controls to manage participants, such as muting, removing, or placing them on hold if needed.
3. Handle Recordings Responsibly
Storage: If possible, store recordings securely using encrypted storage solutions. Cloud recordings in Zoom should be protected with strong passwords.
Access: Limit access to recordings to only those who need it. Use Zoom’s sharing settings to manage permissions.
Retention Policies: Implement retention policies to ensure recordings are kept only as long as necessary and are disposed of properly.
Enhancing Zoom Recordings with Best Practices and Convin's Advanced Tools

Recording Zoom meetings effectively requires attention to both technical and ethical aspects. Implementing best practices for clear audio and video ensures that your recordings are of the highest quality. This involves choosing the right equipment, optimizing your environment, and adjusting technical settings.
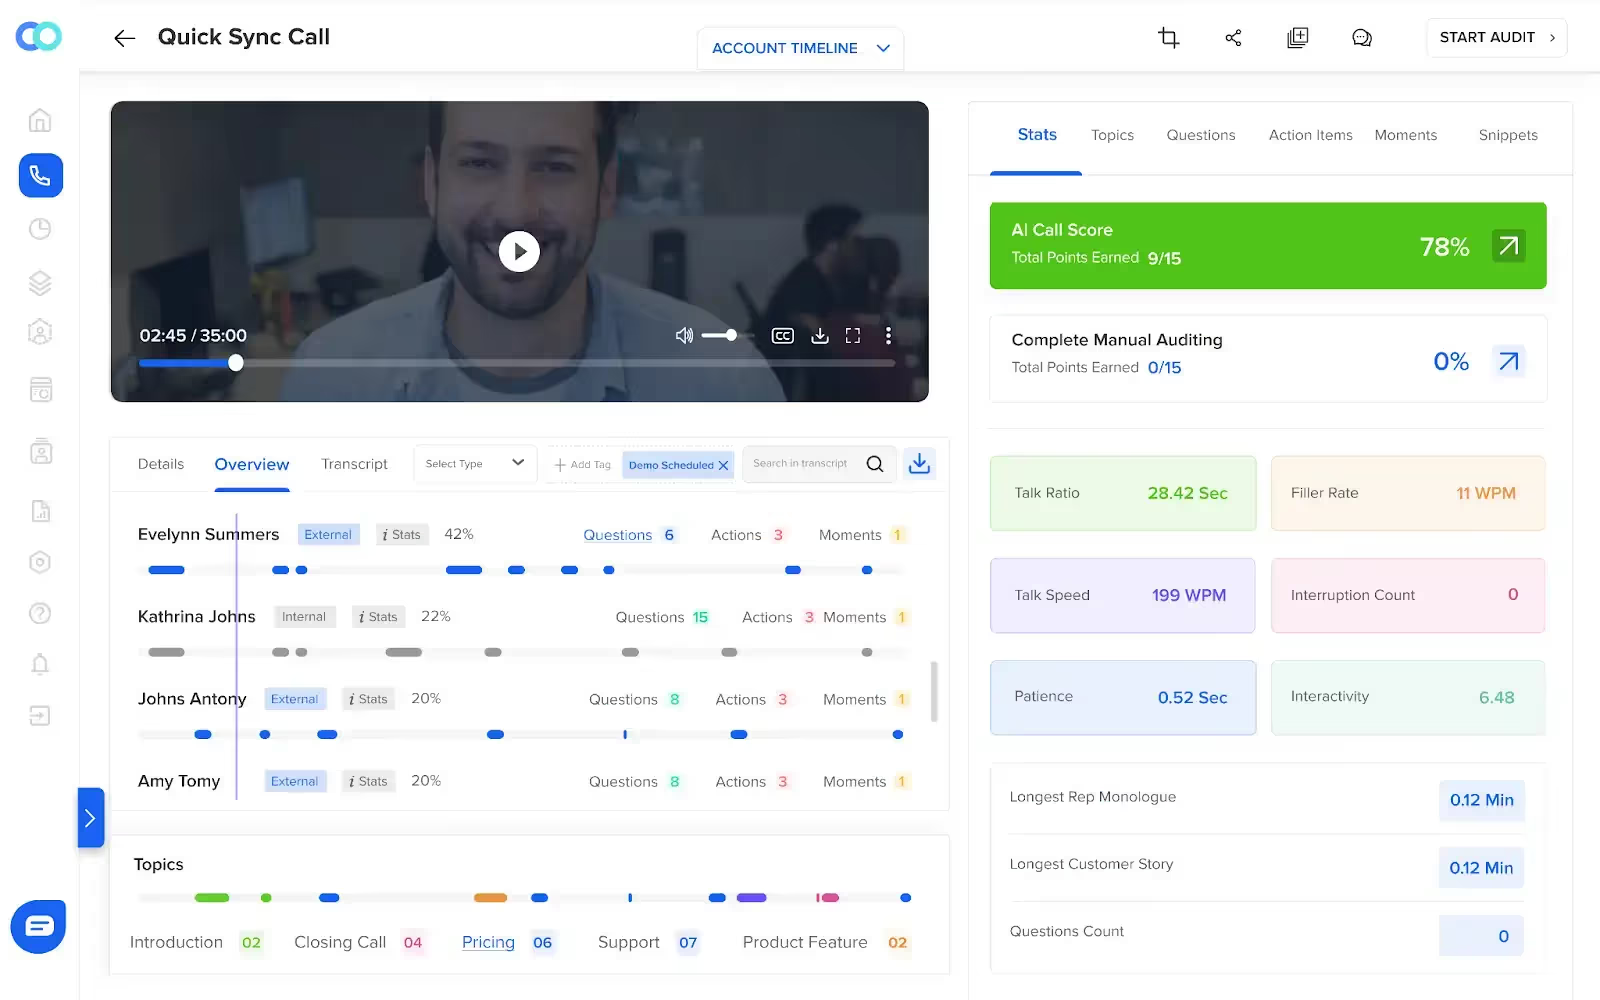
Additionally, ensuring privacy and compliance by informing participants, securing your meetings, and responsibly handling recordings is crucial for maintaining trust and adhering to legal standards. Convin can assist in this process by offering advanced conversation intelligence tools that automatically record, transcribe, and analyze Zoom meetings.
Convin’s real-time monitoring and high transcription accuracy ensure that your recordings are comprehensive and accessible, while its robust security features help maintain compliance and protect sensitive information.
Best Practices for High-Quality and Secure Zoom Recordings

Recording Zoom meetings effectively requires attention to both technical and ethical aspects. Implementing best practices for clear audio and video ensures that your recordings are of the highest quality. This involves choosing the right equipment, optimizing your environment, and adjusting technical settings.
Additionally, ensuring privacy and compliance by informing participants, securing your meetings, and responsibly handling recordings is crucial for maintaining trust and adhering to legal standards.
Whether using Zoom for business, education, or personal purposes, following these guidelines will help you create valuable and secure recordings. Embrace these practices to enhance the usability of your Zoom recordings, making them a powerful resource for reviewing, sharing, and preserving important information from your meetings.
Unlock Convin's Potential: Schedule Your Comprehensive Demo Now!
FAQs
1. Can I get a transcript of a Zoom recording?
Yes, you can get a transcript of a Zoom recording if you have a Business, Education, or Enterprise account. Enable cloud recording and audio transcription in your Zoom settings. After the meeting, access your recordings in the Zoom web portal, where the transcript will be available for download alongside the video and audio files.
2. How do I retrieve my Zoom transcript?
To retrieve your Zoom transcript, log in to the Zoom web portal and navigate to the "Recordings" section. Select the desired recording, and the transcript file will be listed alongside the video and audio files. You can view, download, and edit the transcript for further use.
3. How to convert Zoom recordings to words?
Enable the audio transcription feature in your Zoom settings to convert Zoom recordings to words. Ensure your meeting is recorded to the cloud. After the meeting, Zoom will automatically generate a transcript, which you can access and download from the "Recordings" section in the Zoom web portal.
4. Is transcription available in Zoom?
Transcription is available in Zoom for Business, Education, and Enterprise accounts. Enable the "Audio Transcript" option in your Zoom cloud recording settings. When you record a meeting to the cloud, Zoom will automatically generate a transcript you can access and download from the Zoom web portal.


.avif)